Shower Installation Basics: A Complete Guide for Homeowners
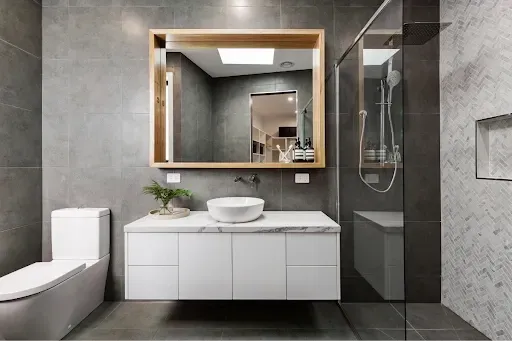
A properly installed shower enhances your bathroom's functionality and adds value to your home. Understanding shower installation basics helps you make informed decisions about upgrading your bathroom or installing a new shower space.
Whether you're considering a DIY project or hiring professionals, knowing the fundamentals ensures a smooth installation process and a beautiful, functional shower that serves your family for years.
What is Shower Installation?
Shower installation involves fitting a complete shower unit, including walls, floors, plumbing connections, and fixtures. This process creates a safe, functional, and waterproof shower space that meets your specific needs and preferences.
The installation encompasses multiple components working together as a system. Proper waterproofing prevents leaks and water damage. Correct plumbing ensures adequate water pressure and temperature control. Quality fixtures provide reliable operation and attractive appearance.
Professional shower installation requires expertise in plumbing, tiling, waterproofing, and electrical work. Each component must integrate properly to create a leak-free, durable shower environment.
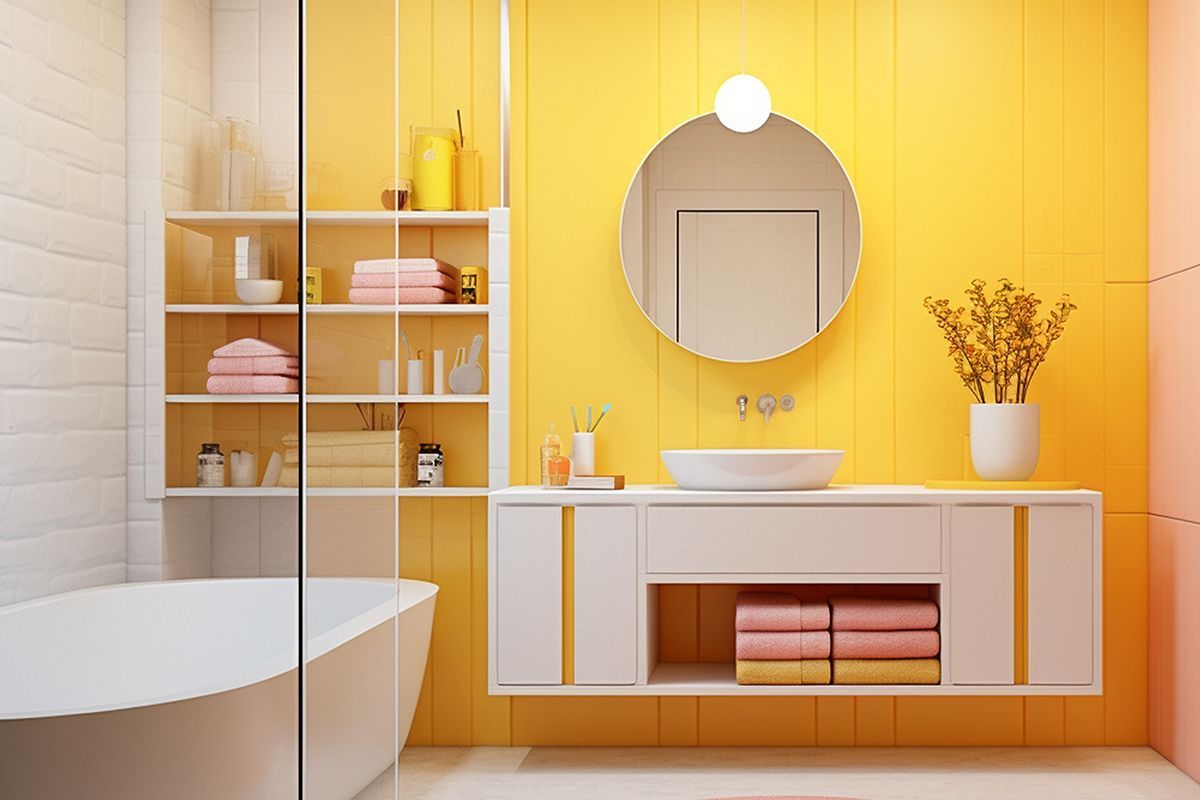
Different Types of Showers
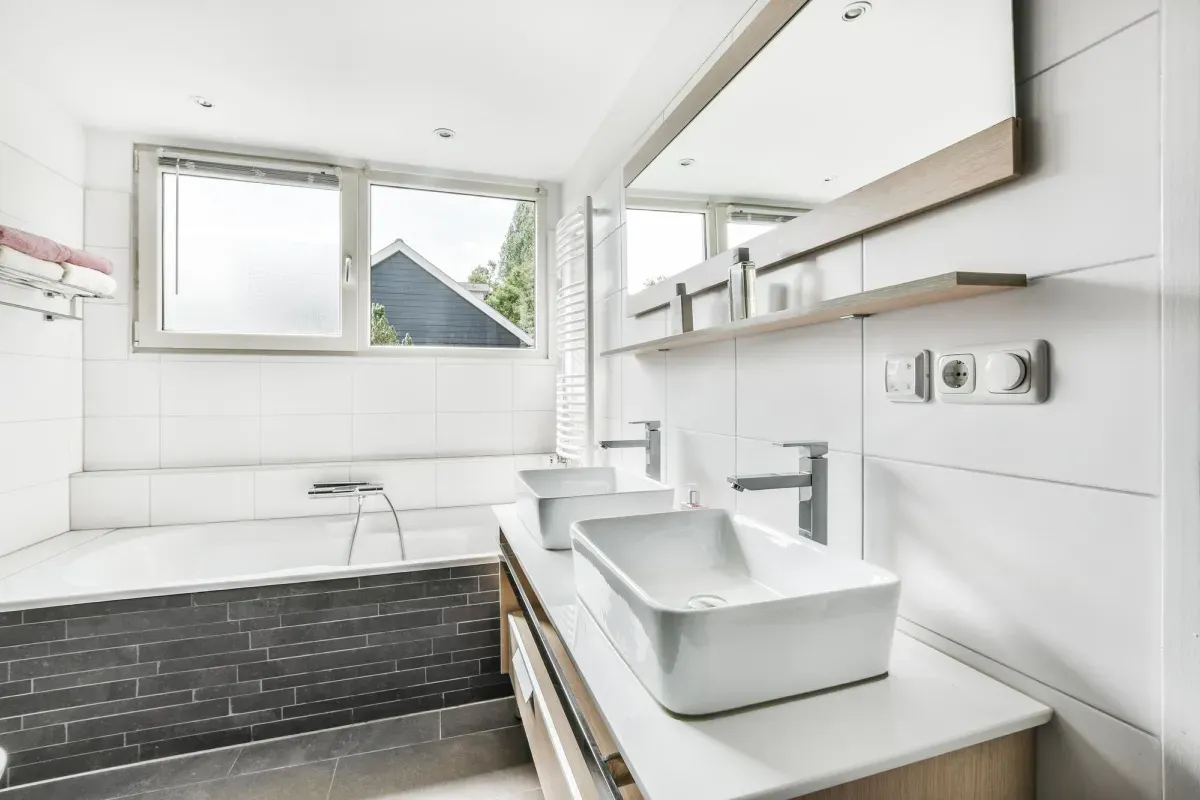
Walk-in Showers
Walk-in shower installation creates an open design with easy access and modern appeal. These showers eliminate the need for a threshold or door, making them ideal for accessibility and contemporary bathroom designs.
Walk-in showers work well in larger bathrooms where space allows for proper water containment. The open design requires careful planning to prevent water from splashing into other bathroom areas.
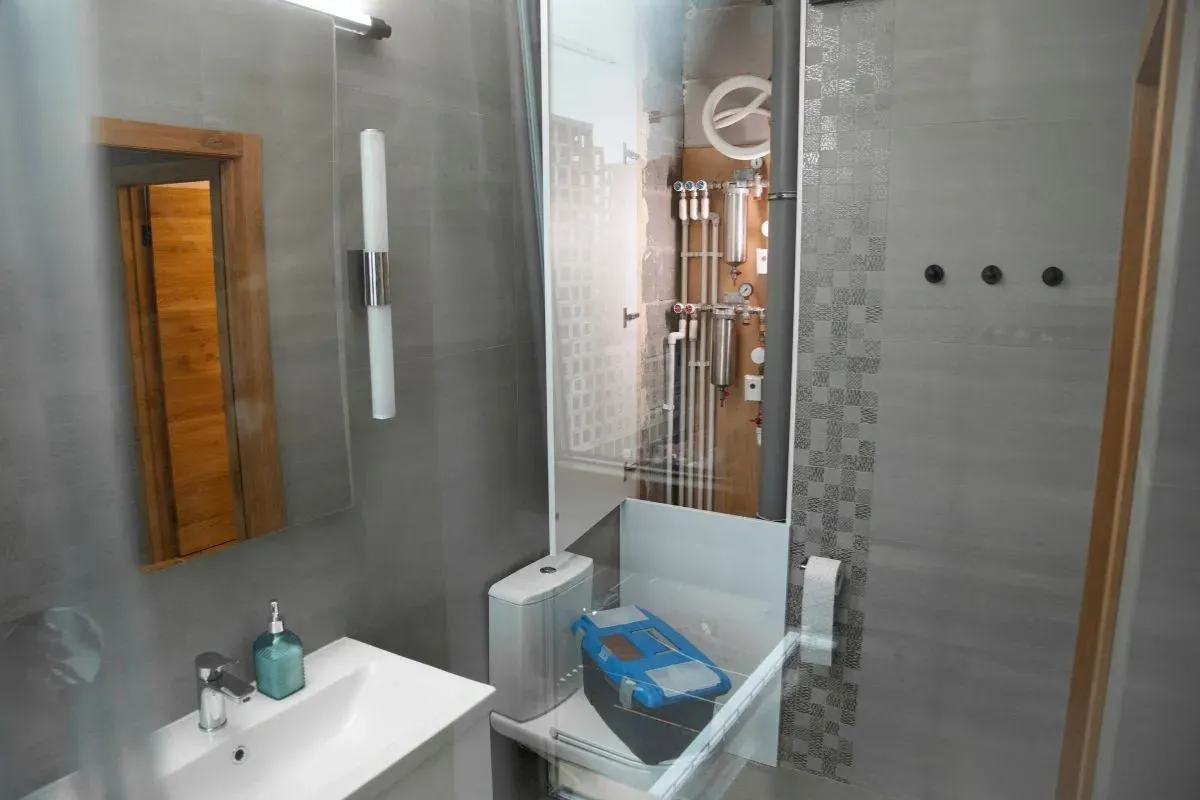
Corner Showers
Corner installations maximize space efficiency in smaller bathrooms. These units fit into bathroom corners, leaving more floor space for other fixtures and movement.
Corner showers come in various shapes, including square, rectangular, and curved designs. The compact footprint makes them popular choices for guest bathrooms and powder rooms.
Prefabricated Showers
Ready-made shower units simplify the installation process. These complete systems include walls, base, and often fixtures in coordinated designs that ensure proper fit and function.
Prefabricated options reduce installation time and complexity. They work well for straightforward replacements or new construction where standard sizes fit the available space.
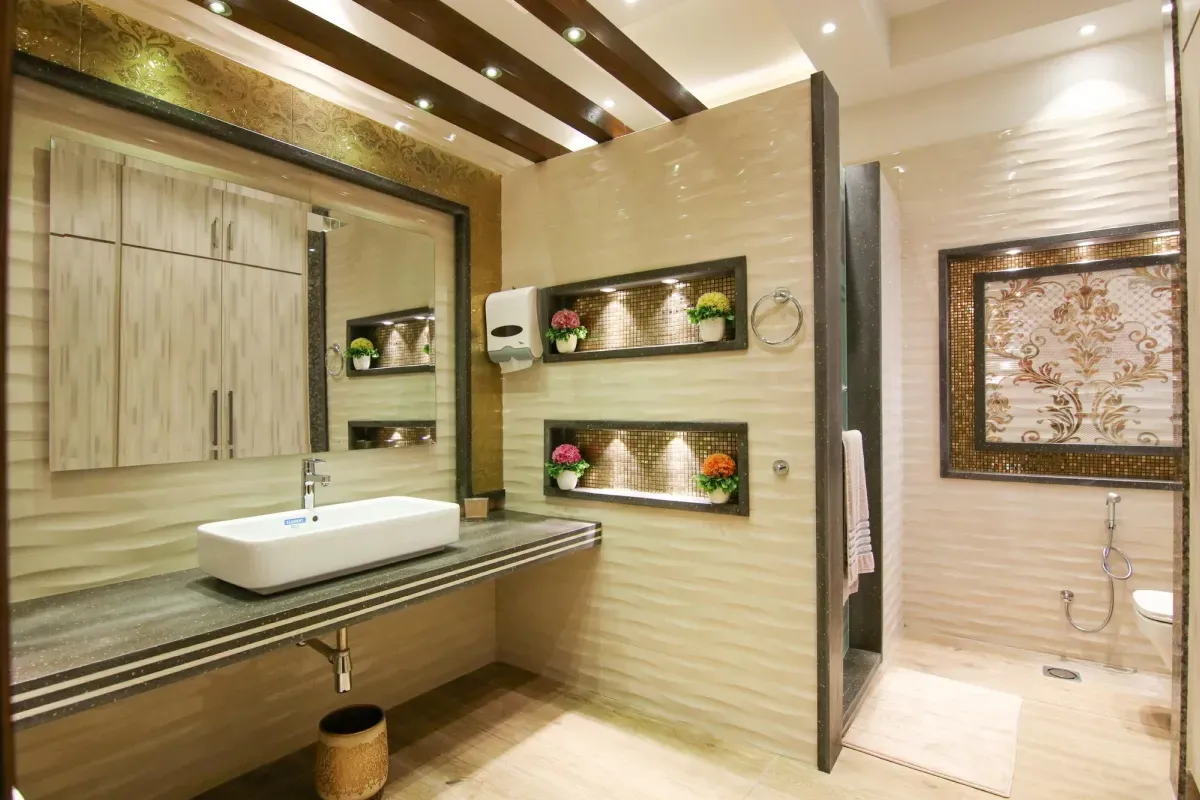
Custom Showers
Custom installations allow complete design freedom with materials, dimensions, and features tailored to your specific space and preferences. These showers accommodate unique layouts and personal style choices.
Custom work requires more planning and expertise but delivers exactly what you envision. Shower installation companies specializing in custom work can create unique solutions for challenging spaces.
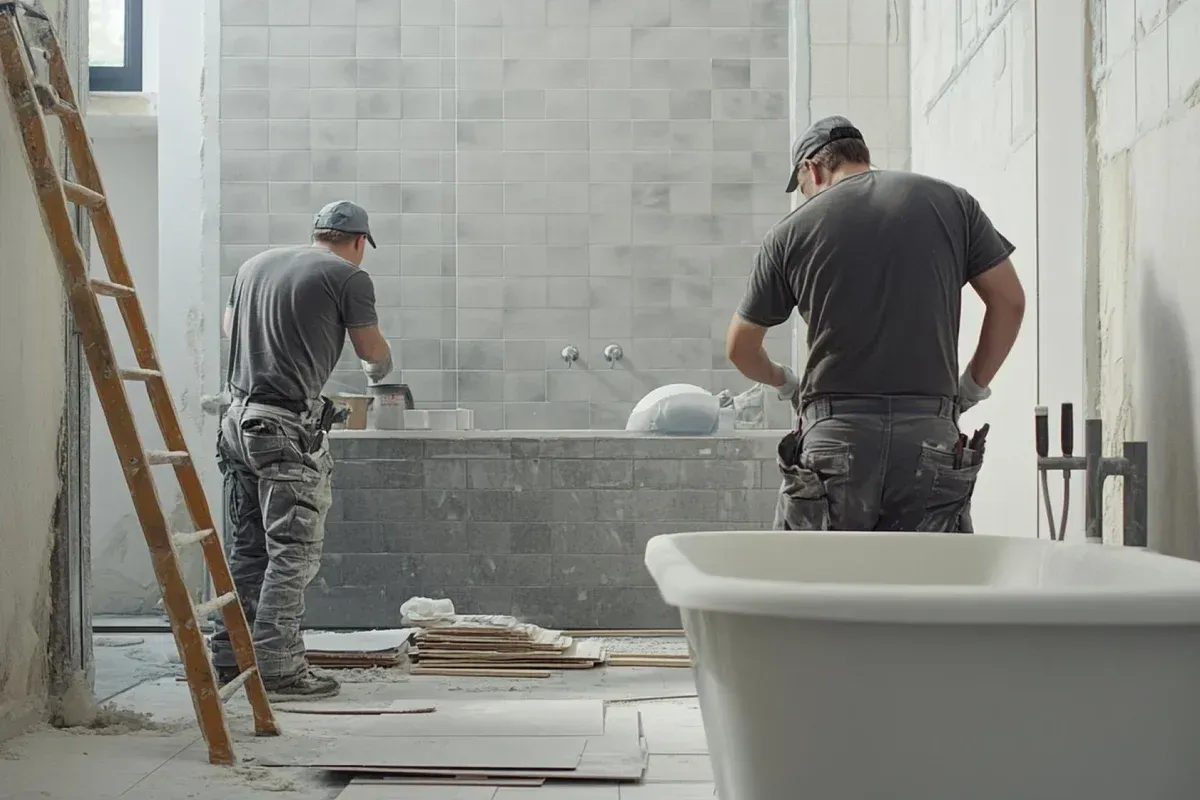
Shower Installation Process Overview
Step 1: Preparing the Space
Remove the existing shower or bathtub completely. Clean the area thoroughly and check for any damage to walls, floors, or plumbing that needs repair before proceeding.
Level the floor and ensure proper slope toward the drain location. Address any structural issues or water damage discovered during demolition.
Step 2: Plumbing Setup
Install or relocate water supply lines for hot and cold water connections. Position drain lines according to your new shower base requirements.
Install shut-off valves and pressure-balancing valves for safety and convenience. Test all connections for leaks before proceeding with wall and floor installation.
Step 3: Installing Shower Pan/Base
Position the shower base carefully, ensuring proper alignment with drain connections. Level the base and secure it according to the manufacturer's specifications.
Apply waterproof sealant around the base perimeter to prevent water intrusion behind walls. This step is critical for preventing future water damage.
Step 4: Installing Walls or Tiling
Install wall panels or apply tile and waterproof backing materials. Ensure all seams and joints are properly sealed to maintain waterproof integrity.
For walk-in shower installation, pay special attention to areas where water might splash beyond the shower area. Proper wall height and waterproofing prevent damage to adjacent areas.
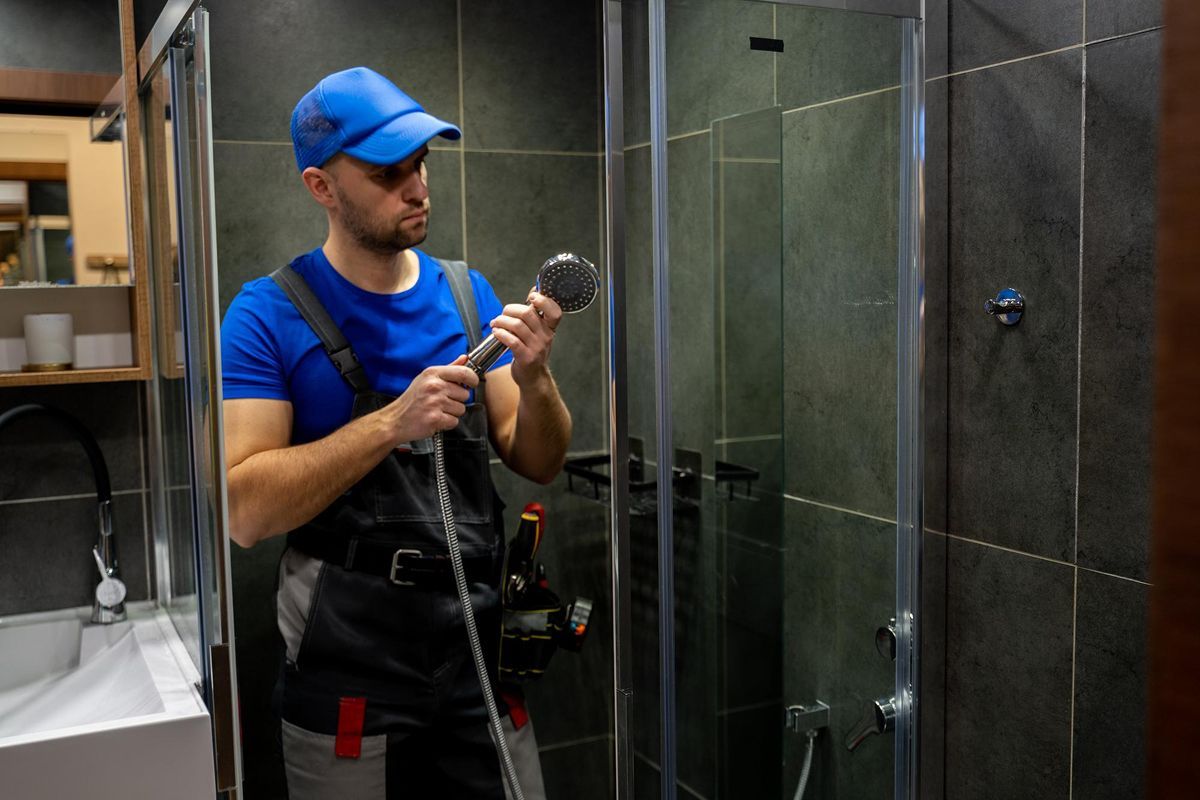
Step 5: Fitting Fixtures
Install showerhead, faucets, handles, and any additional features like body sprays or rain heads. Connect all fixtures to the plumbing system and test for proper operation.
Adjust water pressure and temperature controls to ensure safe, comfortable operation. Install any shelving, grab bars, or accessories during this phase.
Step 6: Sealing and Waterproofing
Apply final sealant around all penetrations, joints, and seams. This critical step prevents water from reaching areas where it could cause damage.
Allow all sealants to cure completely before using the shower. Proper curing ensures maximum waterproof protection.
Step 7: Final Inspection and Testing
Test the complete system for leaks, proper drainage, and correct operation of all fixtures. Check water pressure, temperature control, and drainage flow.
Shower door installation completes the project if your design includes doors. Proper door installation ensures water containment and smooth operation.
What are the Tools and Materials Required For Shower Installation?
Essential Tools
Drill with various bits for different materials. Level for ensuring proper alignment of all components. Trowel for applying adhesives and sealants. Caulking gun for applying waterproof sealants.
Wrenches and plumbing tools for connecting water supply lines. Safety gear, including gloves, goggles, and knee protection, for working in tight spaces.
Materials
Shower pan or base appropriate for your installation type. Wall panels, tiles, or other wall covering materials. Grout and tile adhesive for tile installations.
Waterproof sealant and caulking materials. Plumbing fittings, valves, and supply lines. Fixtures, including showerheads, faucets, and handles.
Optional Accessories
Shower door installation materials, if your design includes doors. Shelving, grab bars, and storage accessories. Lighting fixtures for improved visibility and ambiance.
Safety Considerations
Wear appropriate protective equipment throughout the installation process. Ensure adequate ventilation when using adhesives, sealants, or other chemical products.
Turn off the water supply and electricity to the work area before beginning. Follow all local building codes and permit requirements for your installation.
DIY vs Professional Shower Installation: Pros and Cons
DIY Installation Pros
Complete control over project timeline and work quality. Ability to work at your own pace and make adjustments as needed.
Learning valuable skills that apply to future home improvement projects. Direct involvement in material selection and installation techniques.
DIY Installation Cons
Risk of mistakes that could lead to water damage or safety issues. Time-consuming process that may take much longer than a professional installation.
Need to acquire specialized tools and learn proper techniques. Potential code violations if installation doesn't meet local requirements.
Professional Installation Pros
Expertise ensures proper installation and code compliance. Faster completion with guaranteed workmanship. Access to professional-grade tools and materials.
Shower installation companies provide warranties on their work. Reduced risk of water damage from improper installation.
Professional Installation Cons
Need to coordinate schedules with contractors. Less direct control over daily work progress.
Choosing the Right Option
Consider your skill level, available time, and comfort with plumbing and waterproofing work. Simple prefabricated shower replacements may suit DIY installation, while complex walk-in shower installation often requires professional expertise.
Shower installation companies can evaluate your specific situation and provide guidance on the best approach for your project.
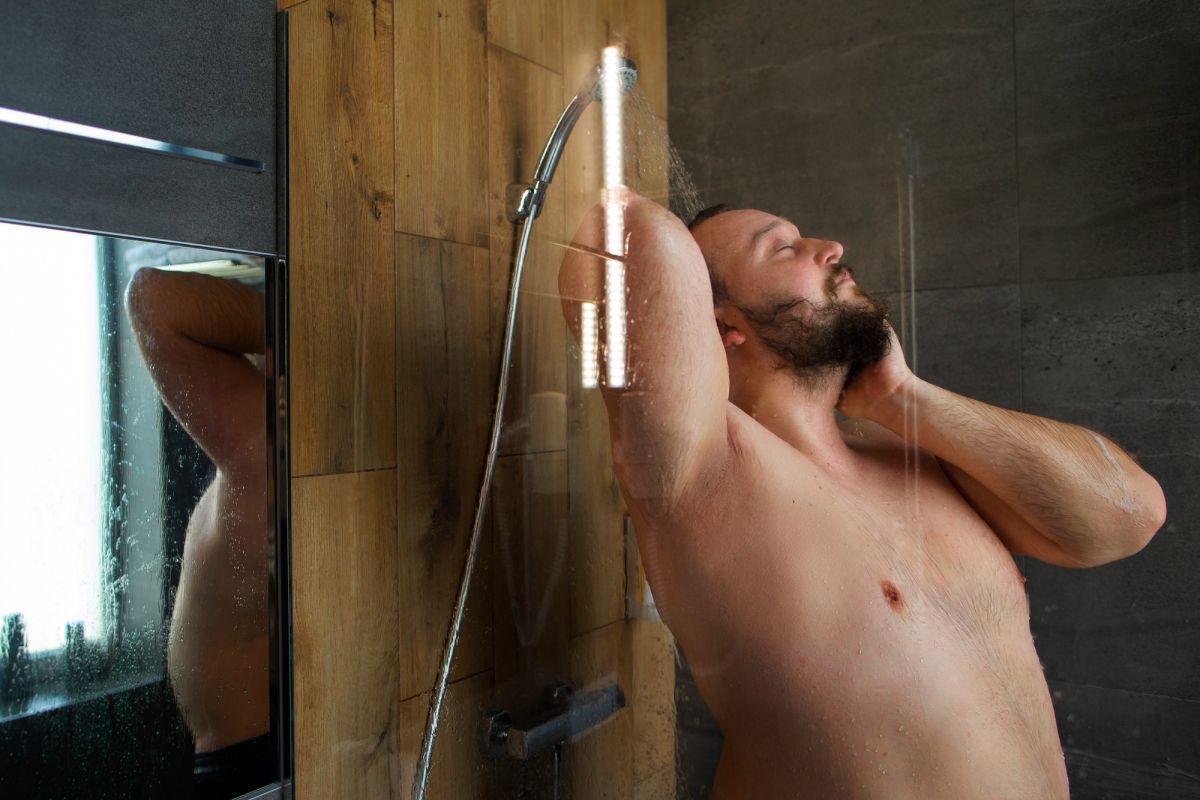
Conclusion
Understanding shower installation basics helps you plan your bathroom renovation project effectively. Whether you choose DIY installation or hire shower installation companies, knowing the process ensures better results.
Proper planning, quality materials, and attention to waterproofing details create a shower that serves your family reliably for years. Walk-in shower installation and shower door installation require specific expertise to ensure proper function and water containment.
Follow these guidelines for a successful shower installation that enhances your bathroom's functionality and your home's value.
FAQ’S
Q. How long does a shower installation take?
A standard shower installation usually takes several days, depending on demolition, plumbing changes, waterproofing, tiling, and drying or curing time.
Q. What are the main steps in shower installation?
Key steps include removing old fixtures, preparing the space, setting plumbing, installing the shower base, building walls or tile, fitting fixtures, sealing, and final testing.
Q. Can I install a shower myself?
DIY is possible if you have strong plumbing and waterproofing skills, but most homeowners should hire licensed pros to avoid leaks, code issues, and future water damage.
Q. How do I make sure my new shower does not leak?
Use proper waterproof backer board, seal all seams, correctly install the pan with slope to the drain, apply quality caulk and grout, and test for leaks before regular use.